j44nty
RMS Regular
OP
- Messages
- 8,167
- Thread Starter
- #126
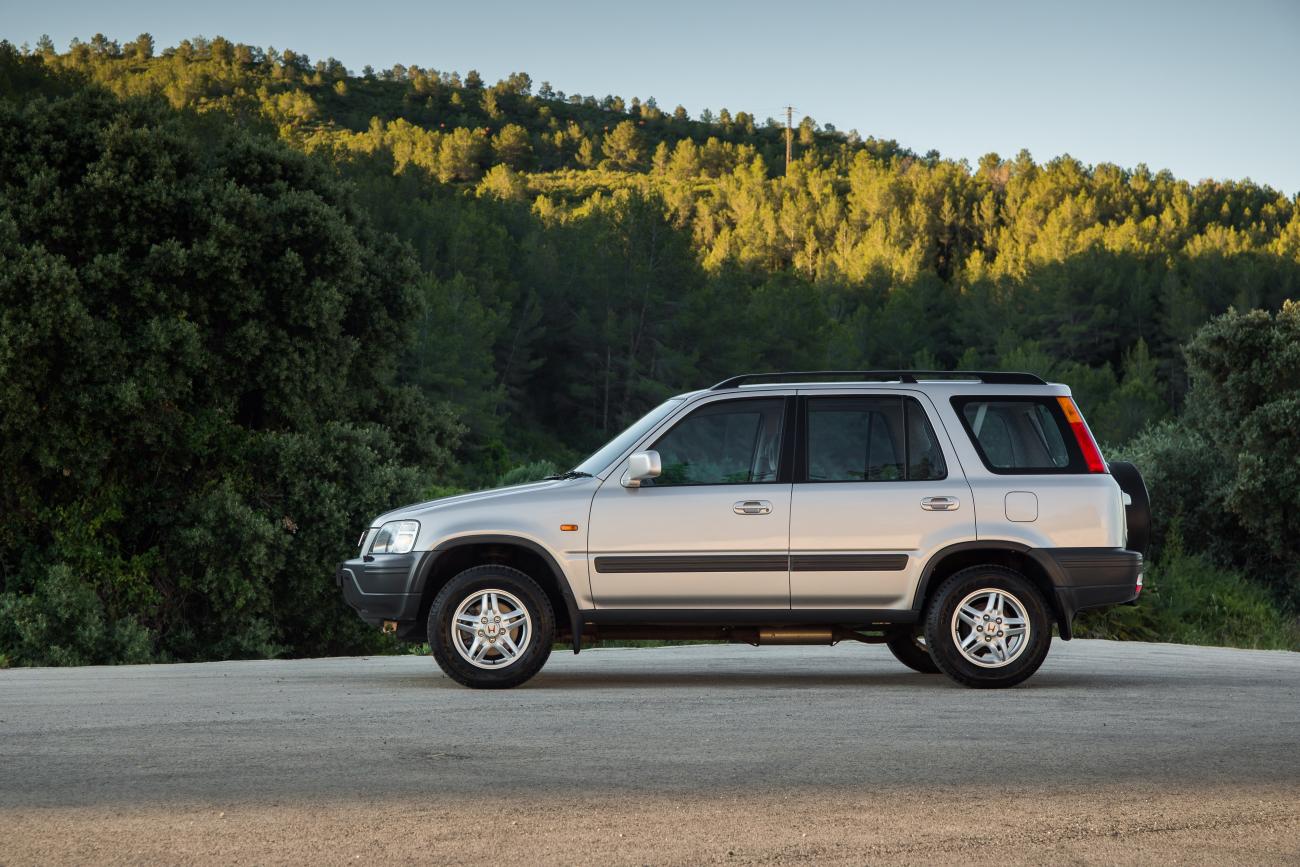
This is CRYING out for a light bar!
Yeah im thinking 3
Really enjoy threads like this........great work lad.
Are you sure 3 light bars would cover it ? lol
sorry to quote posts over a year old but light bar number 3 is in transit for the lower part of the bumper. Might fab up an A frame bar to hold it and provide me with a jacking/recovery point.
Last edited:


 .
.