surprising_skoda
RMS Regular
OP
- Thread Starter
- #351
Next up on the catch-up program: The 2002 Land Rover Discovery II TD5.
During the absolutely wild storms we had at the end of February, a buddy and I drove to the top of a mountain like the pioneering adventurists we are. We didn't manage to get out but it was pretty cool sipping some coffee watching the mists lift and seeing the lights from towns and villages in the distance light up the dark skies.
Which is precisely what the Land Rover did not do on the way back down - the lights on it are adequate, but still.
Couple that with a new-found hobby / way to waste time / way to justify the Discovery - It was bitterly cold; I know a few people with open fires who wouldn't necessarily have lots and lots of money; I also know lots of back roads where branches are constantly being blown over; any excuse to buy a new bowsaw...
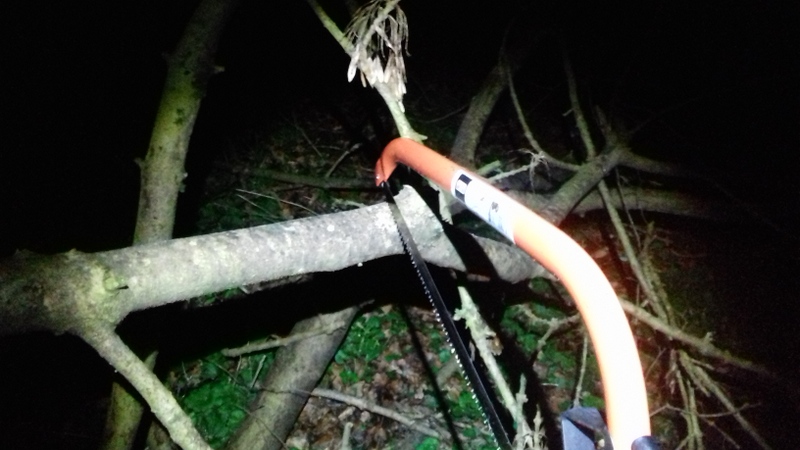
Cutting up fallen branches, usually found along roadsides, gave me a great sense of community service, as did cutting them up into fireplace-sized sticks and logs, and distributing them, and was good exercise too - especially in this kind of quantity:

But again, the problem...
One day when I went to start the LR, it gave me that runaround again with the receiver sensor. I gave it a thump and it worked, but looking at it I realised it had some corrosion again.
So I took it apart and took into the bolt and the contact with a file.
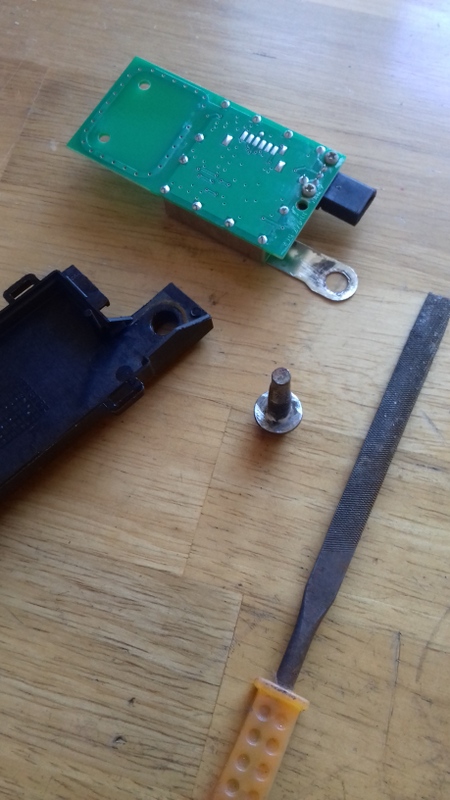
That cleaned it up significantly and it's not been any trouble since.
But it started me down the path of fixing on-going issues.
Number two was the battery terminals that were just never quite tight enough and would bounce off over a big enough bump.
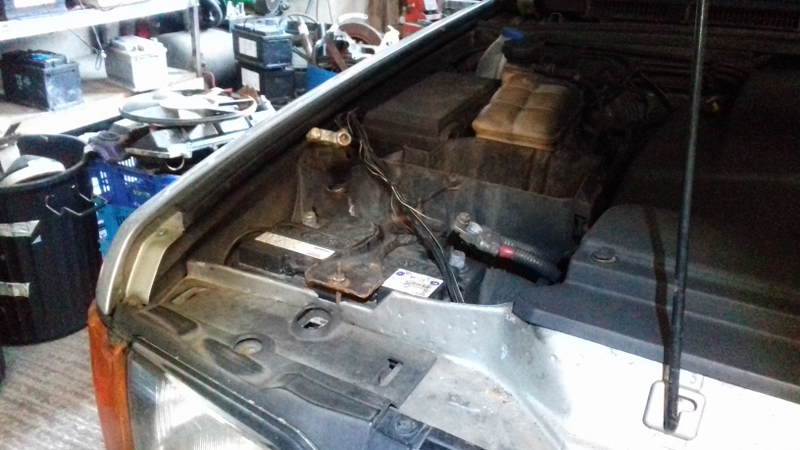
Does anyone know the old trick for this?
Yup.

Sorted!
Also the thread of the hole where an accessory wire would clamp down, was very poor, so I re-tapped it to accept this allen bolt, which meant I could start adding some wires to the battery.
The first thing needing resolved was the flashy lights in the grille. They had never worked right, and what wiring there was for them was just bare ends squeezed into the battery terminals, which of course with worn terminals as already mentioned, was destined for eternal failure.
So I pulled all the wiring out from behind the dash, and moved the control from under the knee-panel, to up on the top of the dash in a gap beside the drivers door.
I drilled some holes in the dash to run wires through, and re-soldered all the joints, which were pretty poor. Some wires had to be replaced / extended / fixed, but eventually it got there.
I thought that was it, but no, I had to then pull the grille out and re-wire all the wires there too, some of which had pulled apart just behind the grille lights - some were not connected at all, some were frayed, and some didn't even reach where they were meant to go!
So, hours later, it was fixed!
Finished now? NO!
The electrics box was out, and the LR was in the workshop. So it was time to do some stuff that was overdue and bugging me.
First step: found some cheapo roof-bars lying around not being used, that could be persuaded to fit the LR bars.

Step two: Measure, measure again, decide not to bother measuring, drill, drill bigger, try to find a bolt that will go all the way through, decide not to bother and use a shorter bolt, tap out holes in roof-bar...
Step three: step back and admire some honky handiwork!
Step four: repeat for the other side. The other side was measured up to match the spacing of the drivers side, so it's not totally hap-dash.
Then proceed to wiring phase, and run all the wires through the bar itself so as to keep it all neat and tidy.

Step five: run wiring to engine bay / dashboard - lots and lots and lots of it! Parallel relayed live feed, with the earthing point on the inner wing where the other accessory wires also earth.
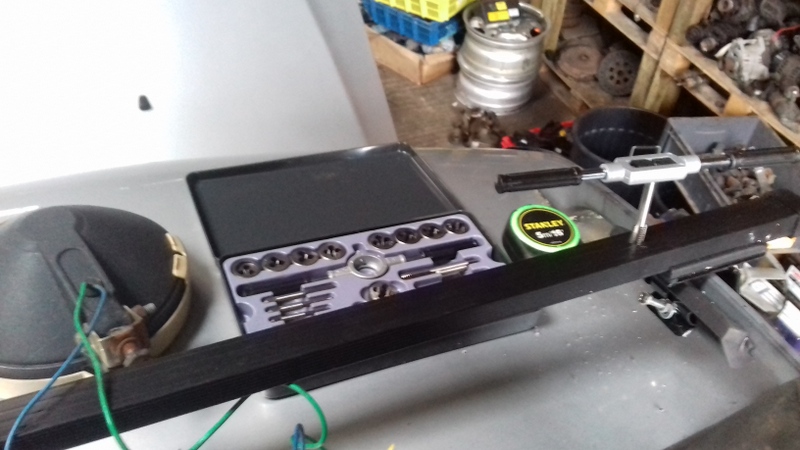
Step six: Find toggle switches in toolbox that are a perfect and tight fit for Land Rover blank switch spaces, and wire them up.
Step seven: test function and hope for the best! (I'd not tested the lights when buying or at any time since!) And then resolve any issues.
While it was in there, I figured I'd just keep going.
The side boards had always felt a little soft to me. From underneath they looked OK just a bit flaky. I jumped on one but it was OK. So I grabbed hold of the roof-rail and pushed hard up and pushed down on the board with my feet, and it bent, so yeah, soft.
Out with the grinder!
The bolts were grown on and too rusty to get spanners to hold on to, so I had to cut the step in half, then twist the pieces up to get at the brackets holding them on. Thankfully I'm really strong (or else the metal was really soft) and I could bend them pretty easily.
And that was the end of the steps.
There's also a step on the rear and the last time I'd been out foraging for wood, I'd reversed into a tree when we were hub-deep in mud (such fun!) and wrecked the folding step. It was clearly rotten anyway, but I was going to chop it completely off. But one of the guys working with me seen me going at it and suggested just cutting the rotten footplate off and keeping the rest of it, seeing as it was not rotten further up the arm, and the plan was still a ladder and roofrack.
So that's the route I took, and the new foot plate got made out of a section of the sill step I'd just removed. Recycling!
Cleaned it all up with a flap-disc and then started my least favourite type of welding - outside upside down welding. Because you're looking upwards, the mask dims, and the bit you are trying to work on is in shadow - it's annoying, uncomfortable, and liable to end up with you getting grubby and burned.
But great penetration made it feel a little better. Finished the seams on each side and tidied up the sharp edges with the flap disc. A good coat of direct-to-metal black paint afterwards, and it looked pretty good.
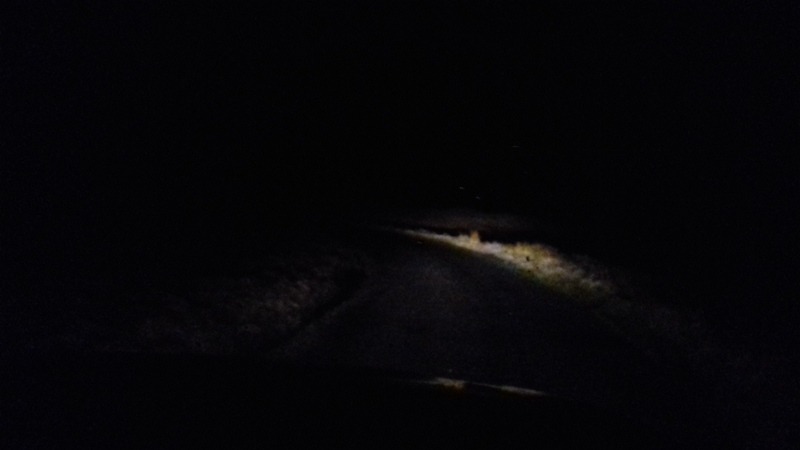
So then, it was time to take it out and check out the lighting situation!
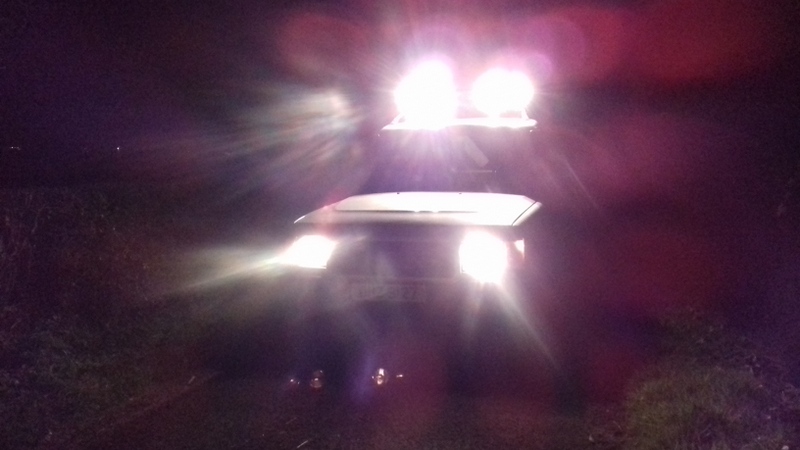
Yup, it has some!
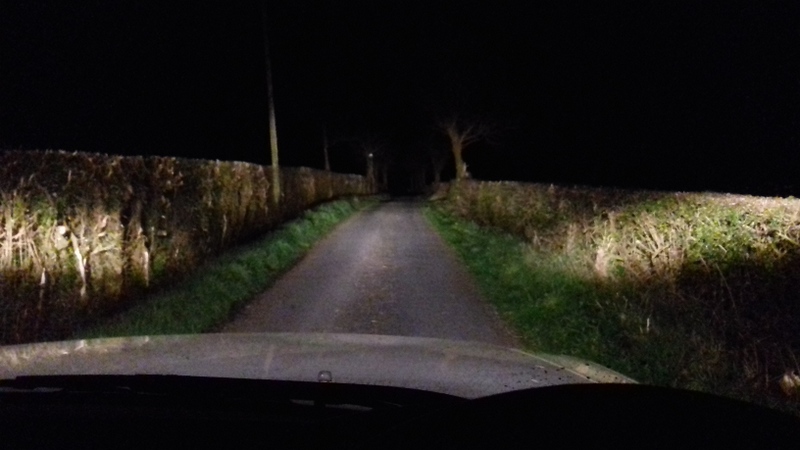
Now that is some difference.
During the absolutely wild storms we had at the end of February, a buddy and I drove to the top of a mountain like the pioneering adventurists we are. We didn't manage to get out but it was pretty cool sipping some coffee watching the mists lift and seeing the lights from towns and villages in the distance light up the dark skies.
Which is precisely what the Land Rover did not do on the way back down - the lights on it are adequate, but still.
Couple that with a new-found hobby / way to waste time / way to justify the Discovery - It was bitterly cold; I know a few people with open fires who wouldn't necessarily have lots and lots of money; I also know lots of back roads where branches are constantly being blown over; any excuse to buy a new bowsaw...
Cutting up fallen branches, usually found along roadsides, gave me a great sense of community service, as did cutting them up into fireplace-sized sticks and logs, and distributing them, and was good exercise too - especially in this kind of quantity:
But again, the problem...
One day when I went to start the LR, it gave me that runaround again with the receiver sensor. I gave it a thump and it worked, but looking at it I realised it had some corrosion again.
So I took it apart and took into the bolt and the contact with a file.
That cleaned it up significantly and it's not been any trouble since.
But it started me down the path of fixing on-going issues.
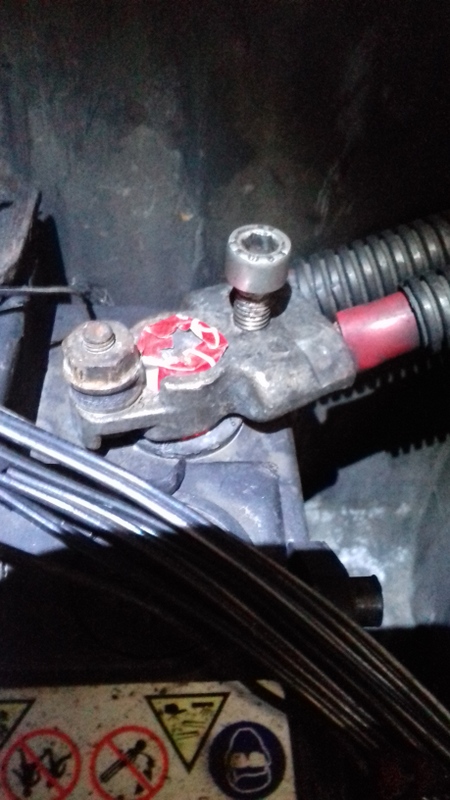
Number two was the battery terminals that were just never quite tight enough and would bounce off over a big enough bump.
Does anyone know the old trick for this?
Yup.
Sorted!
Also the thread of the hole where an accessory wire would clamp down, was very poor, so I re-tapped it to accept this allen bolt, which meant I could start adding some wires to the battery.
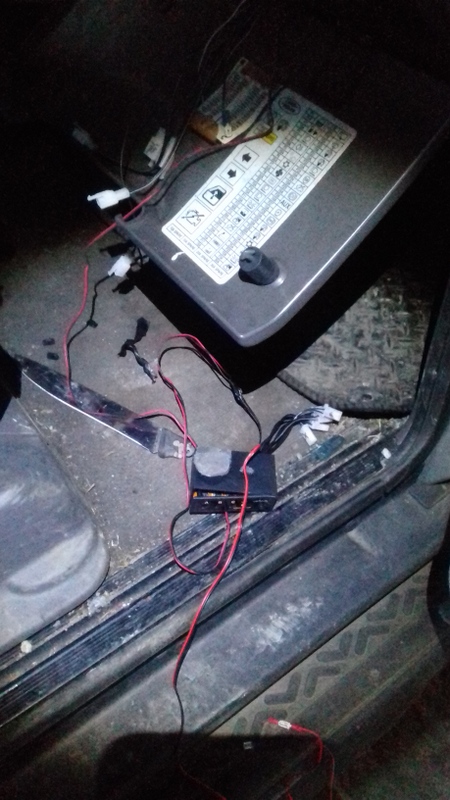
The first thing needing resolved was the flashy lights in the grille. They had never worked right, and what wiring there was for them was just bare ends squeezed into the battery terminals, which of course with worn terminals as already mentioned, was destined for eternal failure.
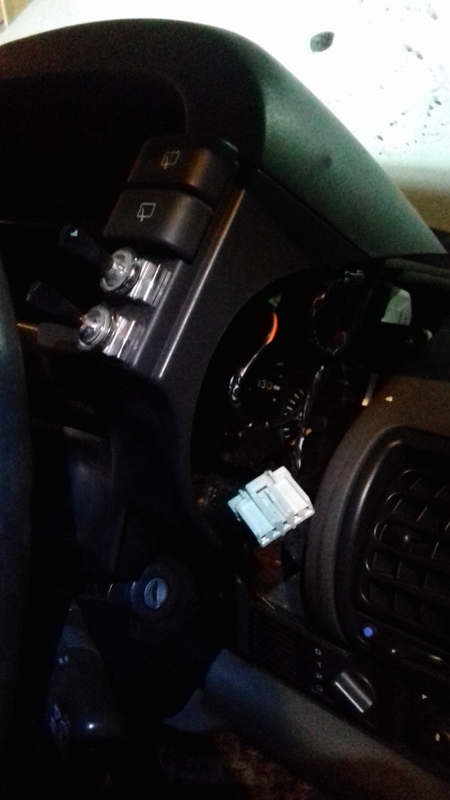
So I pulled all the wiring out from behind the dash, and moved the control from under the knee-panel, to up on the top of the dash in a gap beside the drivers door.
I drilled some holes in the dash to run wires through, and re-soldered all the joints, which were pretty poor. Some wires had to be replaced / extended / fixed, but eventually it got there.
I thought that was it, but no, I had to then pull the grille out and re-wire all the wires there too, some of which had pulled apart just behind the grille lights - some were not connected at all, some were frayed, and some didn't even reach where they were meant to go!
So, hours later, it was fixed!
Finished now? NO!
The electrics box was out, and the LR was in the workshop. So it was time to do some stuff that was overdue and bugging me.
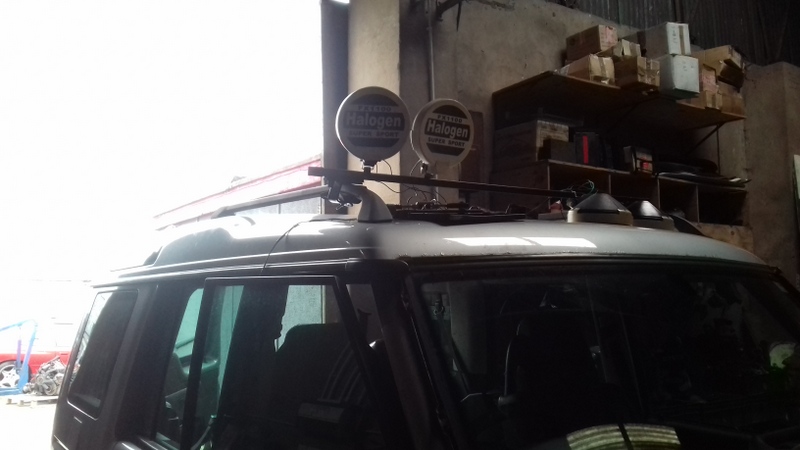
First step: found some cheapo roof-bars lying around not being used, that could be persuaded to fit the LR bars.
Step two: Measure, measure again, decide not to bother measuring, drill, drill bigger, try to find a bolt that will go all the way through, decide not to bother and use a shorter bolt, tap out holes in roof-bar...
Step three: step back and admire some honky handiwork!
Step four: repeat for the other side. The other side was measured up to match the spacing of the drivers side, so it's not totally hap-dash.
Then proceed to wiring phase, and run all the wires through the bar itself so as to keep it all neat and tidy.
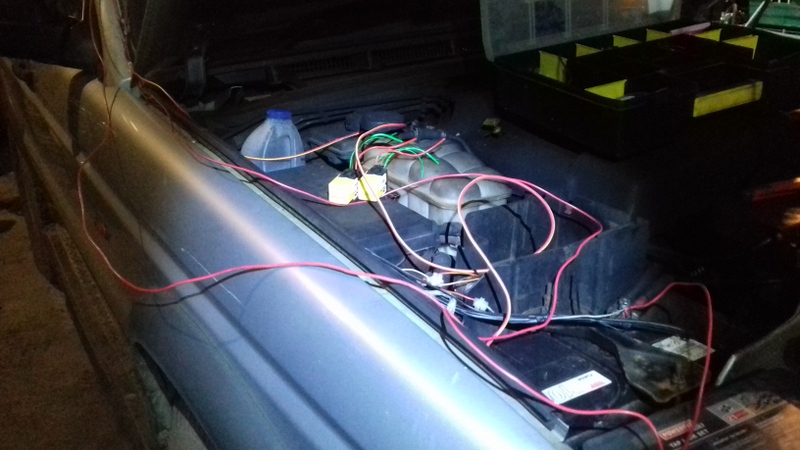
Step five: run wiring to engine bay / dashboard - lots and lots and lots of it! Parallel relayed live feed, with the earthing point on the inner wing where the other accessory wires also earth.
Step six: Find toggle switches in toolbox that are a perfect and tight fit for Land Rover blank switch spaces, and wire them up.
Step seven: test function and hope for the best! (I'd not tested the lights when buying or at any time since!) And then resolve any issues.
While it was in there, I figured I'd just keep going.
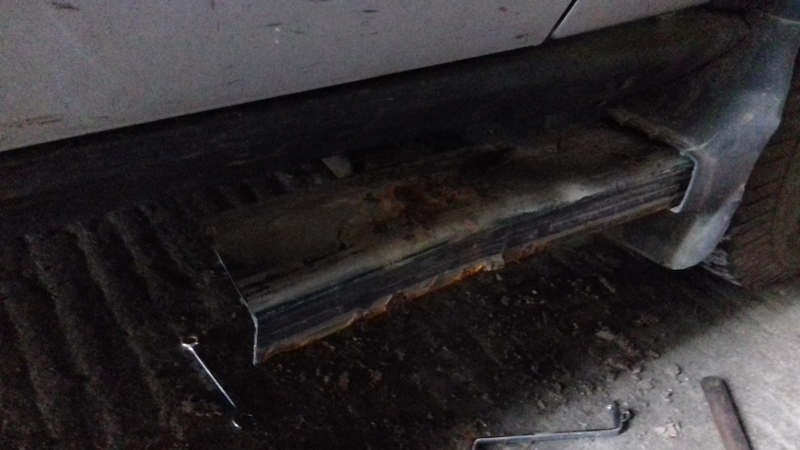
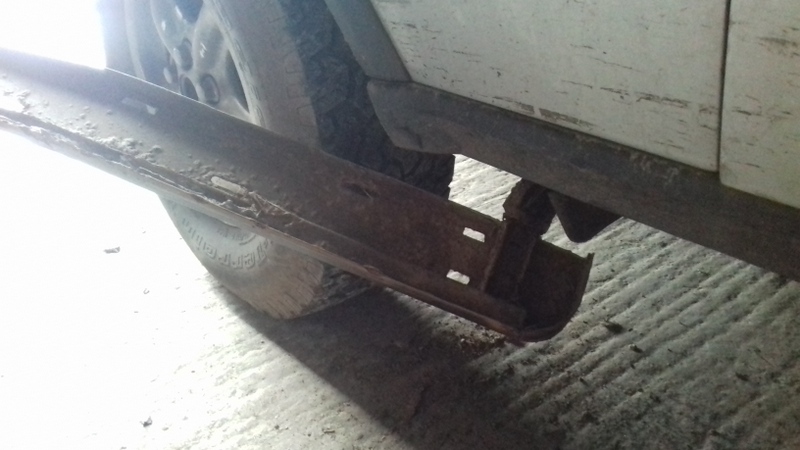
The side boards had always felt a little soft to me. From underneath they looked OK just a bit flaky. I jumped on one but it was OK. So I grabbed hold of the roof-rail and pushed hard up and pushed down on the board with my feet, and it bent, so yeah, soft.
Out with the grinder!
The bolts were grown on and too rusty to get spanners to hold on to, so I had to cut the step in half, then twist the pieces up to get at the brackets holding them on. Thankfully I'm really strong (or else the metal was really soft) and I could bend them pretty easily.
And that was the end of the steps.
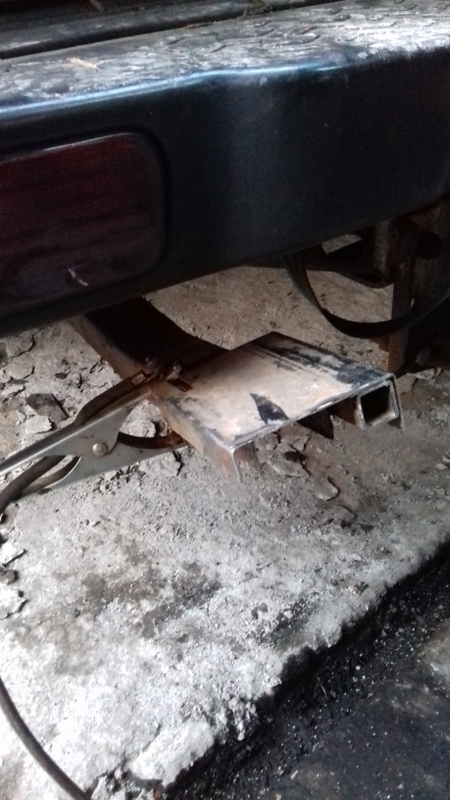
There's also a step on the rear and the last time I'd been out foraging for wood, I'd reversed into a tree when we were hub-deep in mud (such fun!) and wrecked the folding step. It was clearly rotten anyway, but I was going to chop it completely off. But one of the guys working with me seen me going at it and suggested just cutting the rotten footplate off and keeping the rest of it, seeing as it was not rotten further up the arm, and the plan was still a ladder and roofrack.
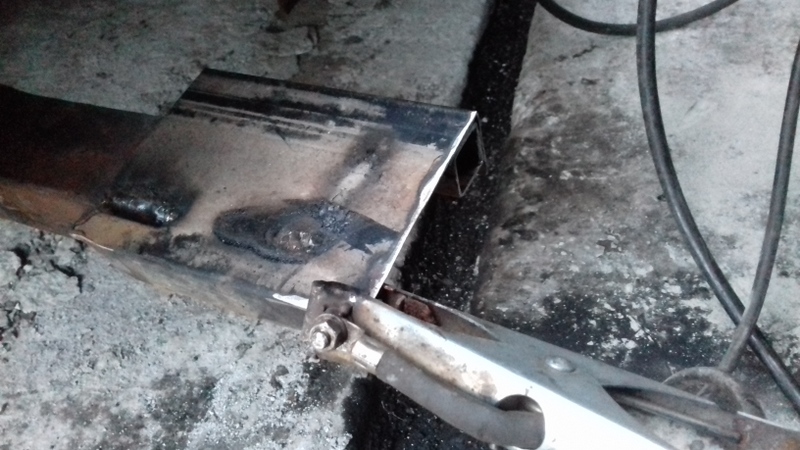
So that's the route I took, and the new foot plate got made out of a section of the sill step I'd just removed. Recycling!
Cleaned it all up with a flap-disc and then started my least favourite type of welding - outside upside down welding. Because you're looking upwards, the mask dims, and the bit you are trying to work on is in shadow - it's annoying, uncomfortable, and liable to end up with you getting grubby and burned.
But great penetration made it feel a little better. Finished the seams on each side and tidied up the sharp edges with the flap disc. A good coat of direct-to-metal black paint afterwards, and it looked pretty good.
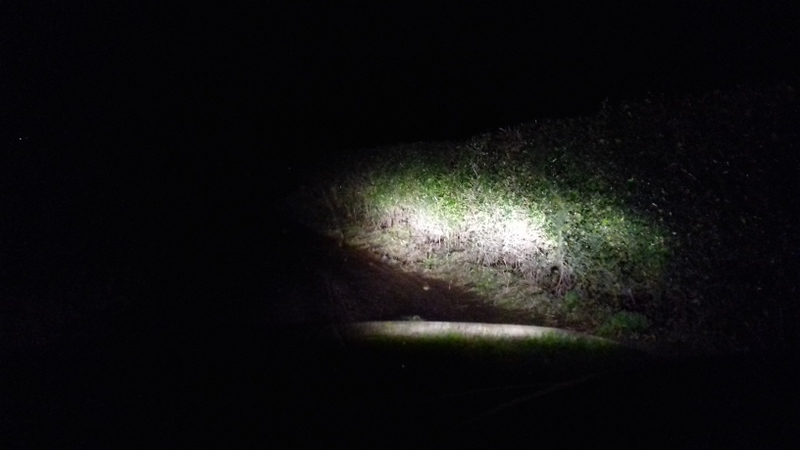
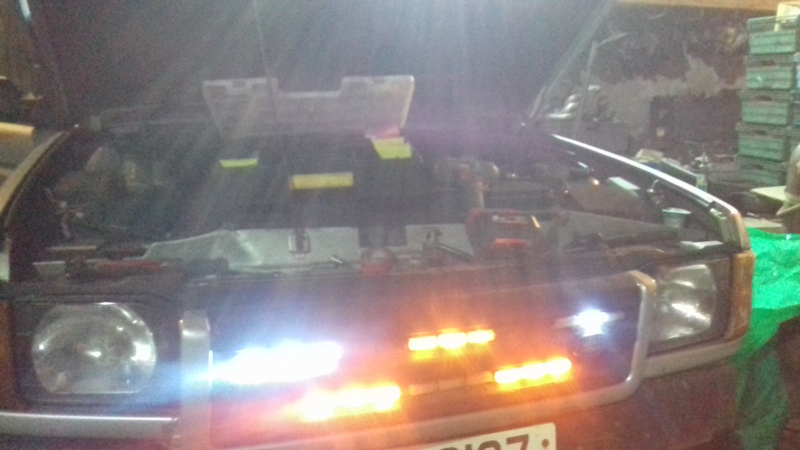
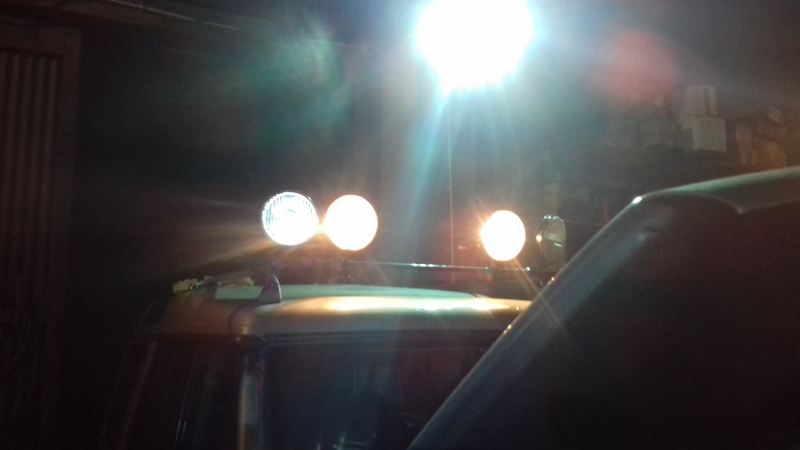
So then, it was time to take it out and check out the lighting situation!
Yup, it has some!
Now that is some difference.